How to build an event website with photo gallery and ticket reservation form
Example website:
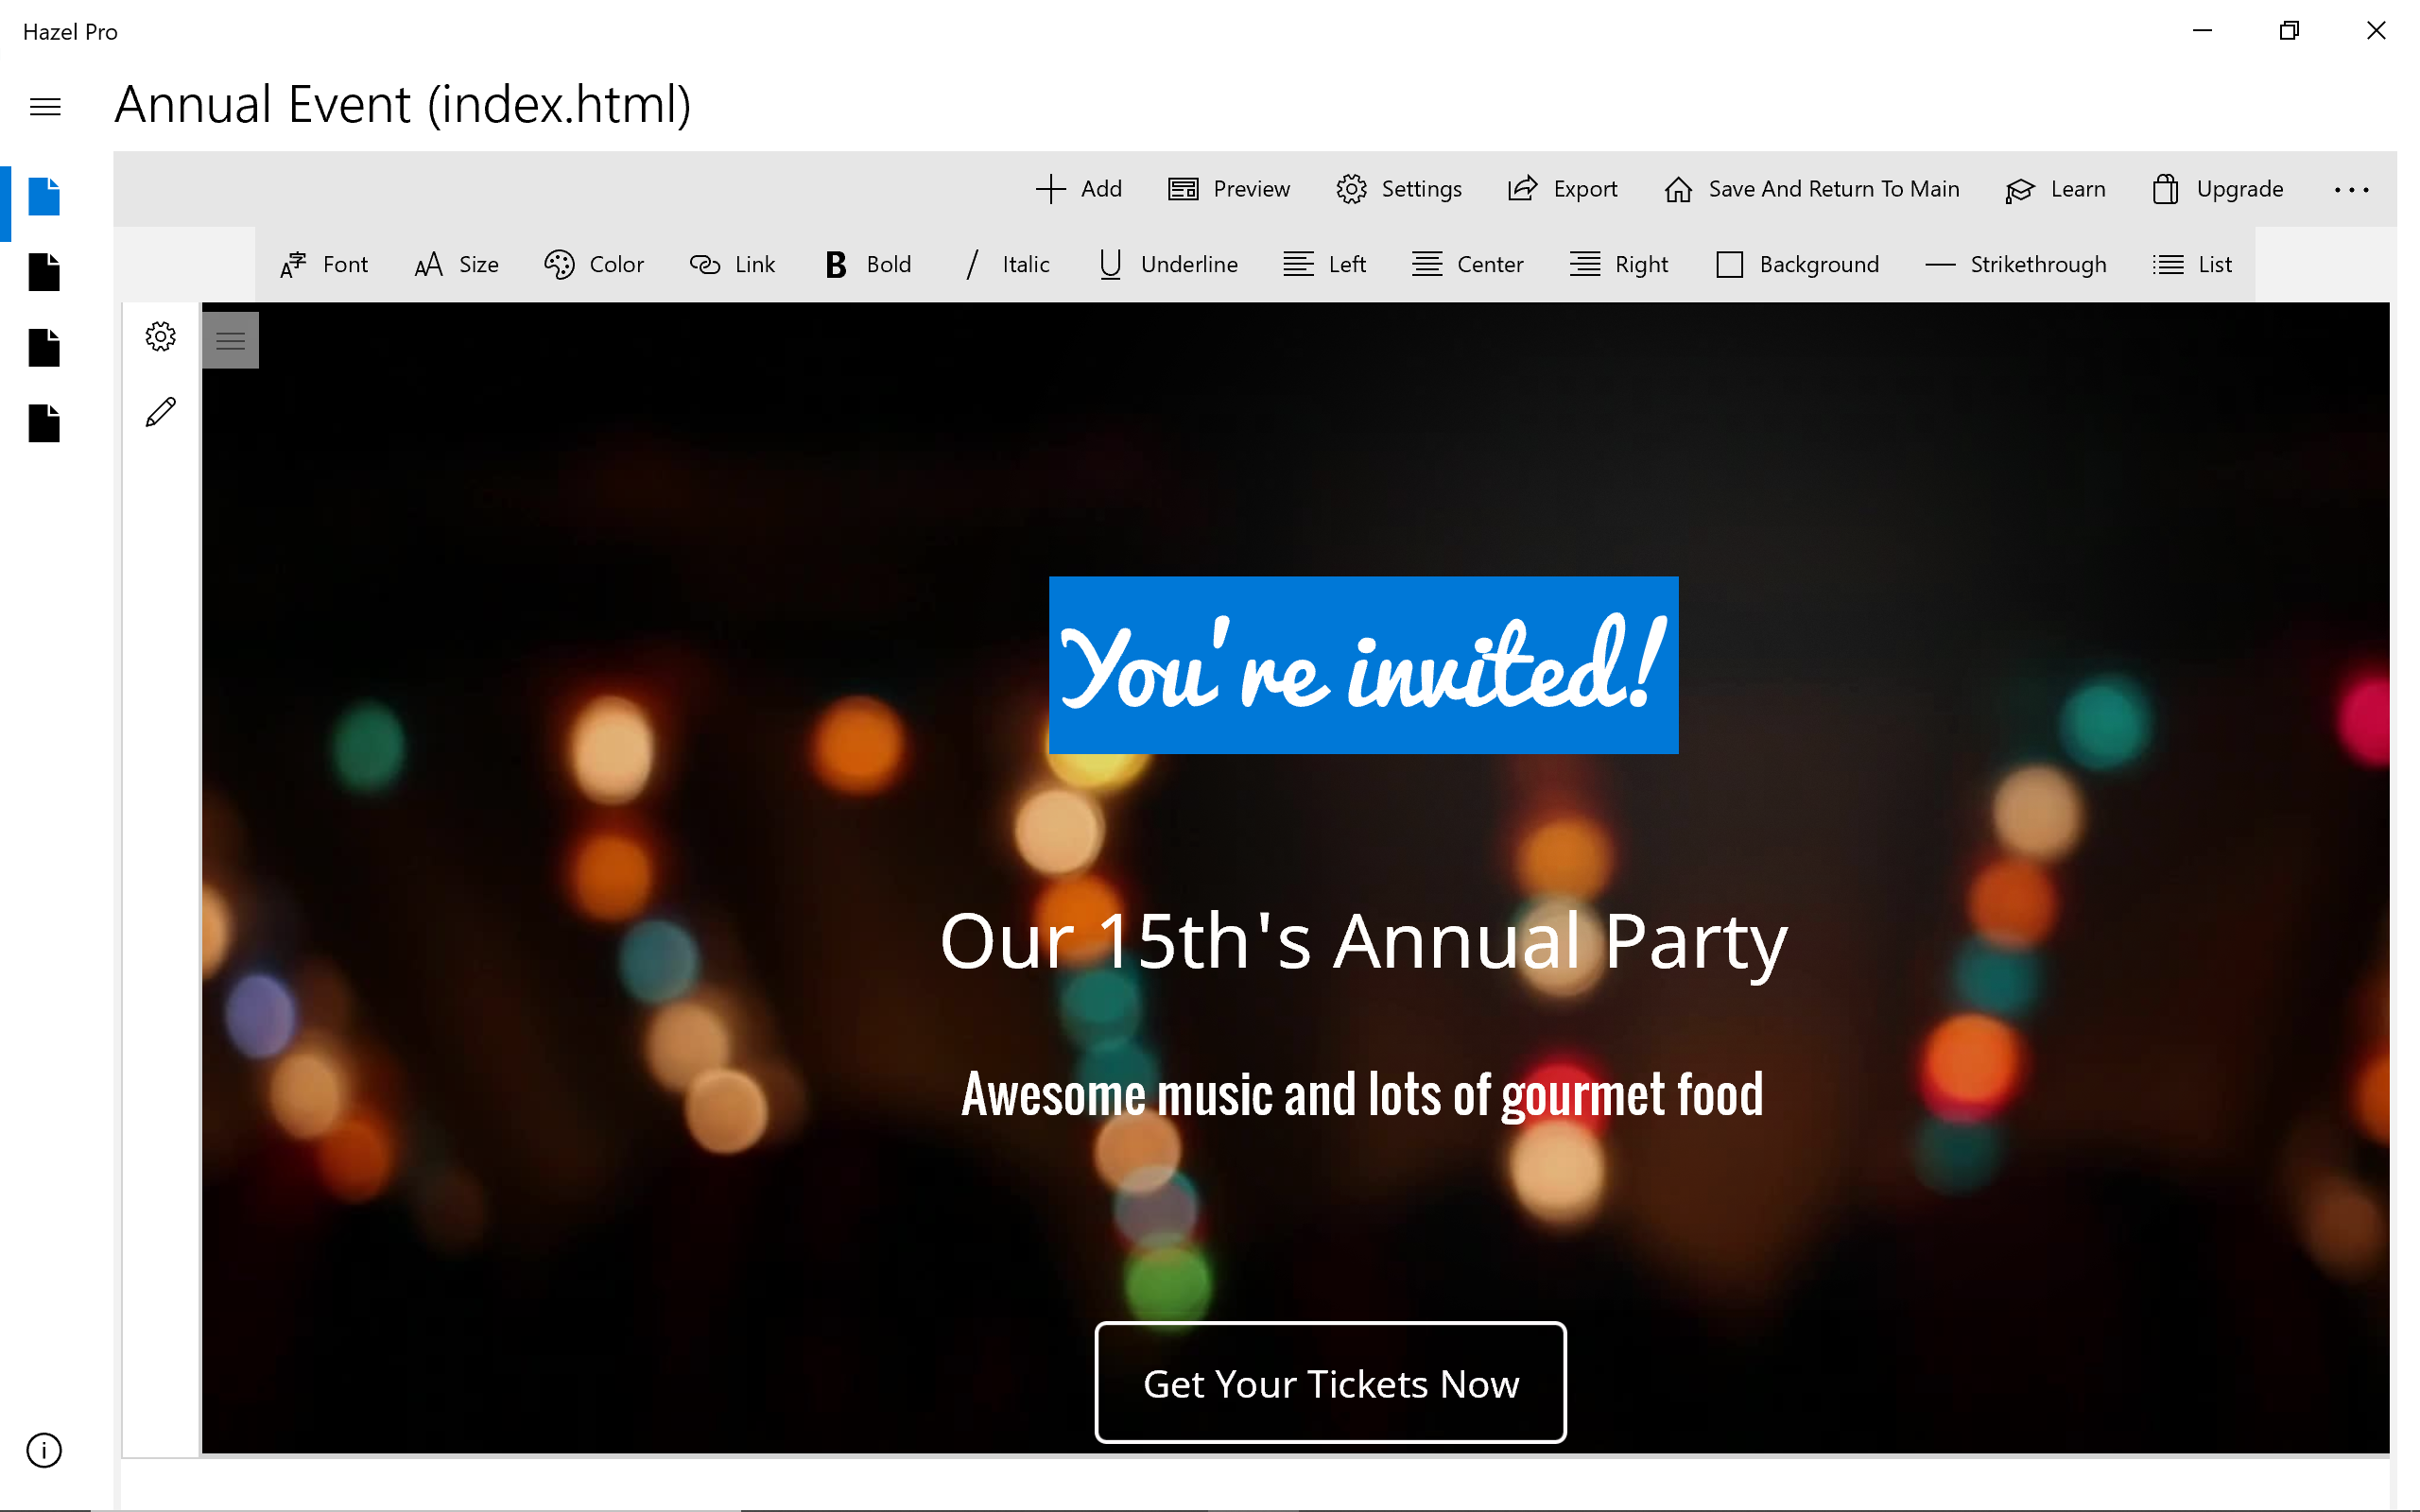
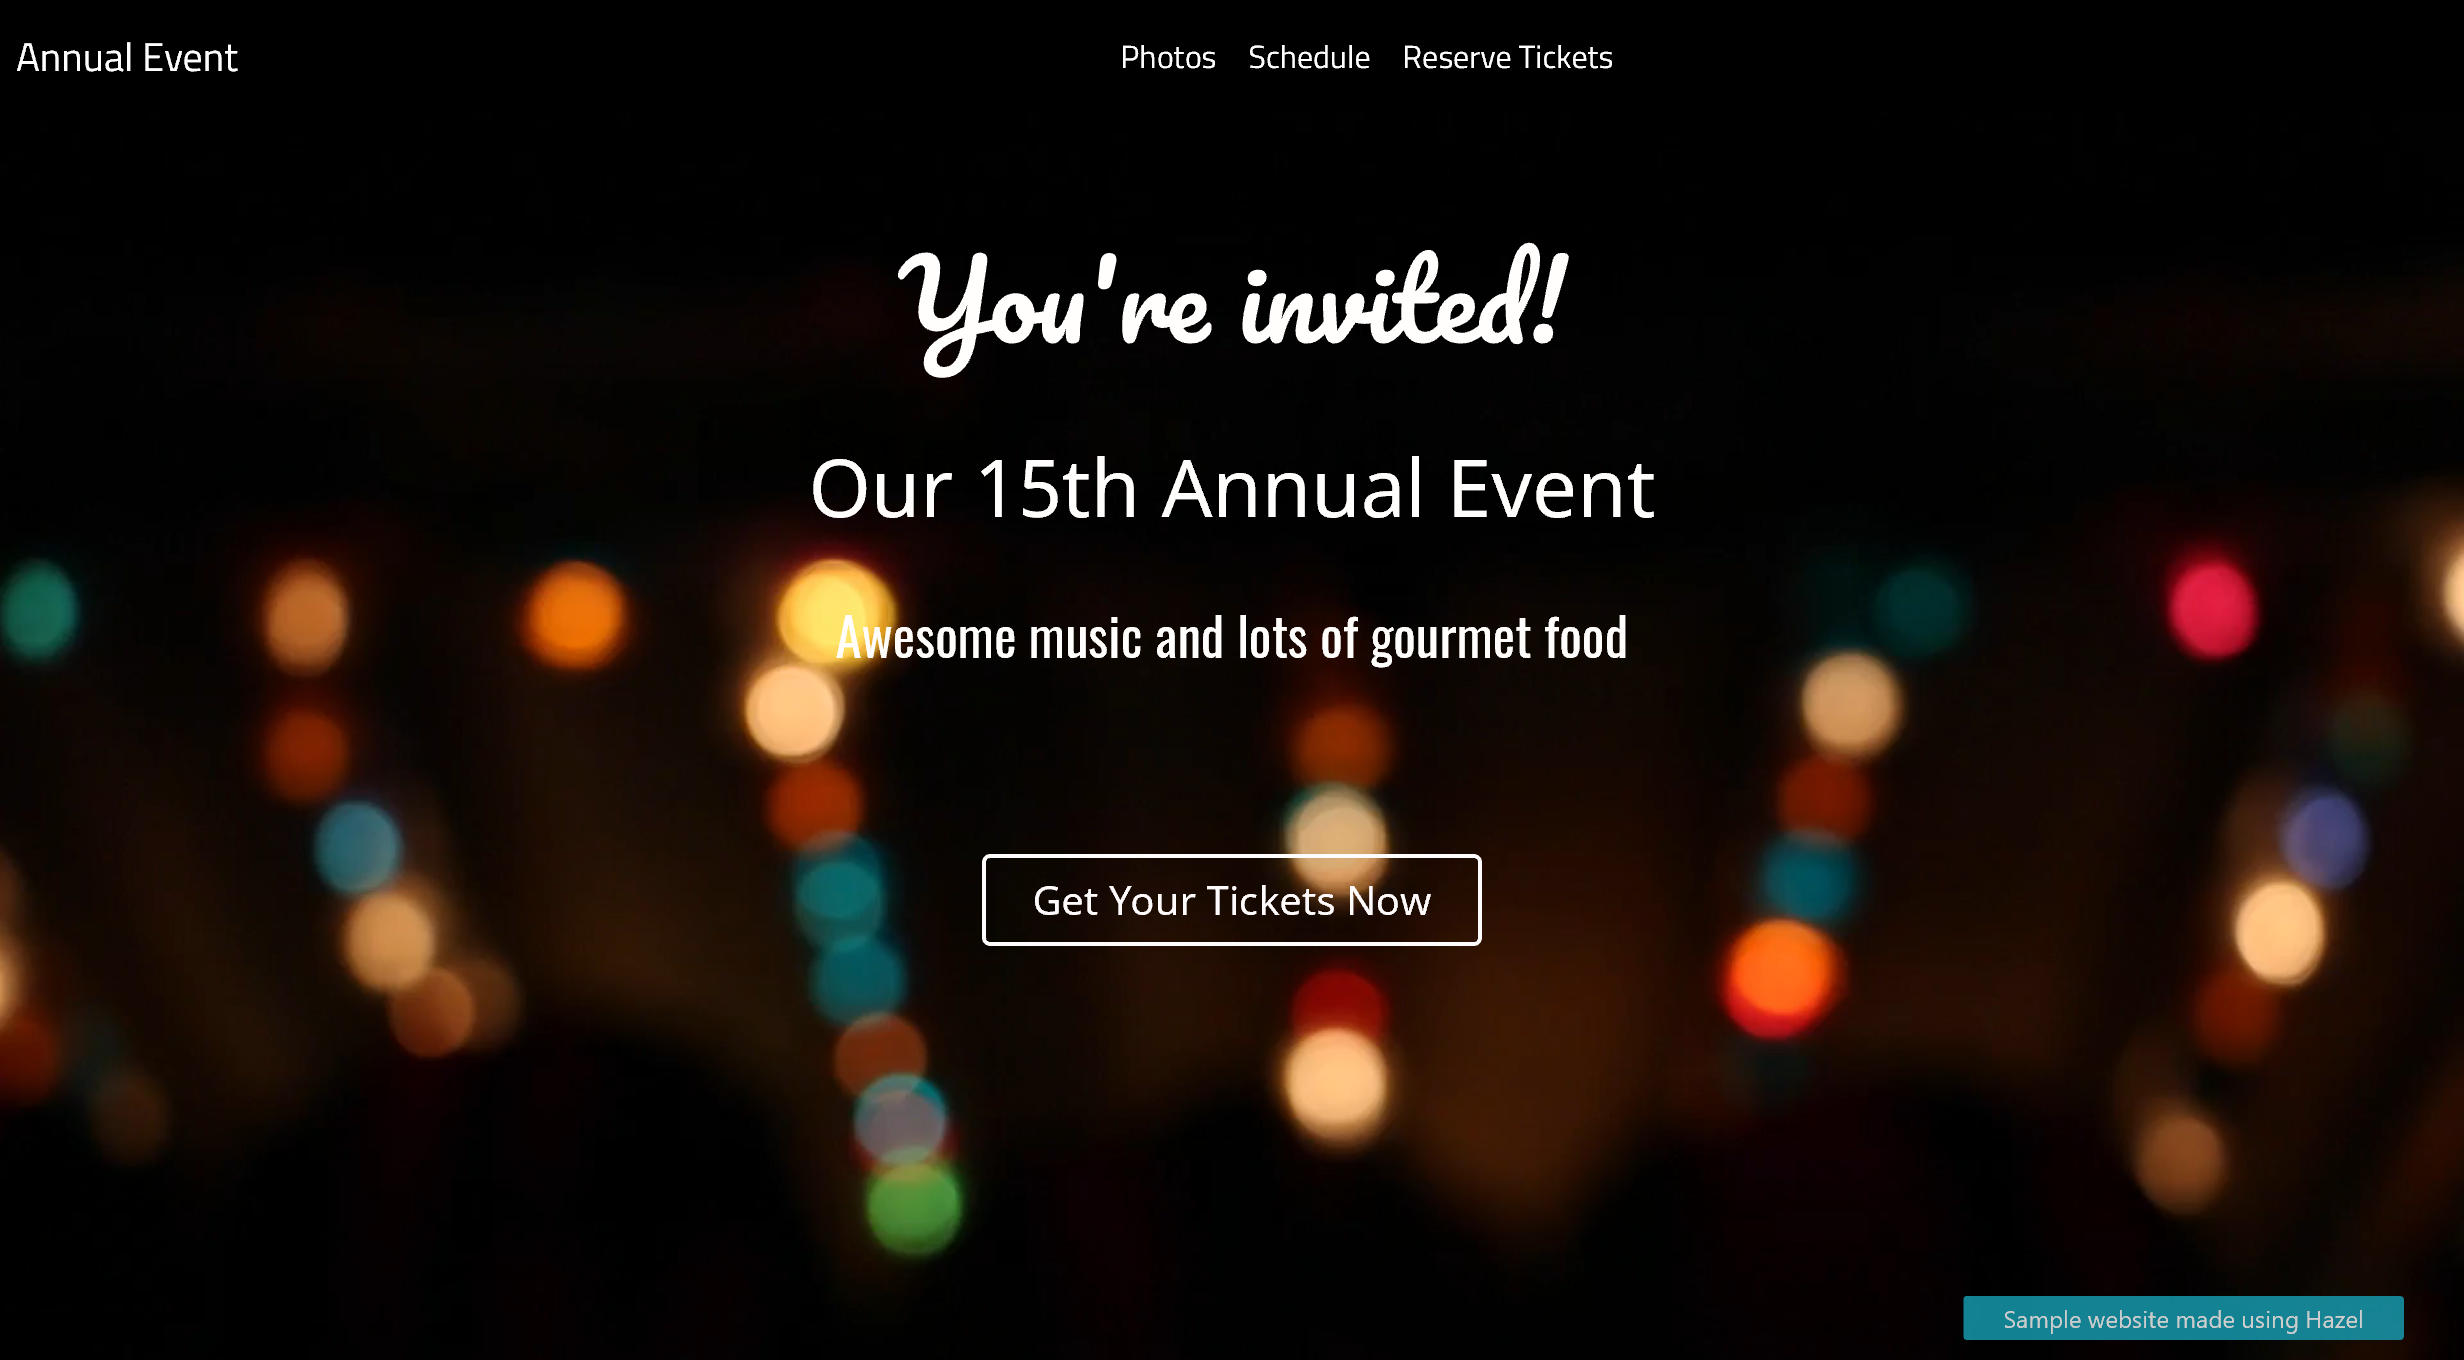
Annual Event Website

This website features:
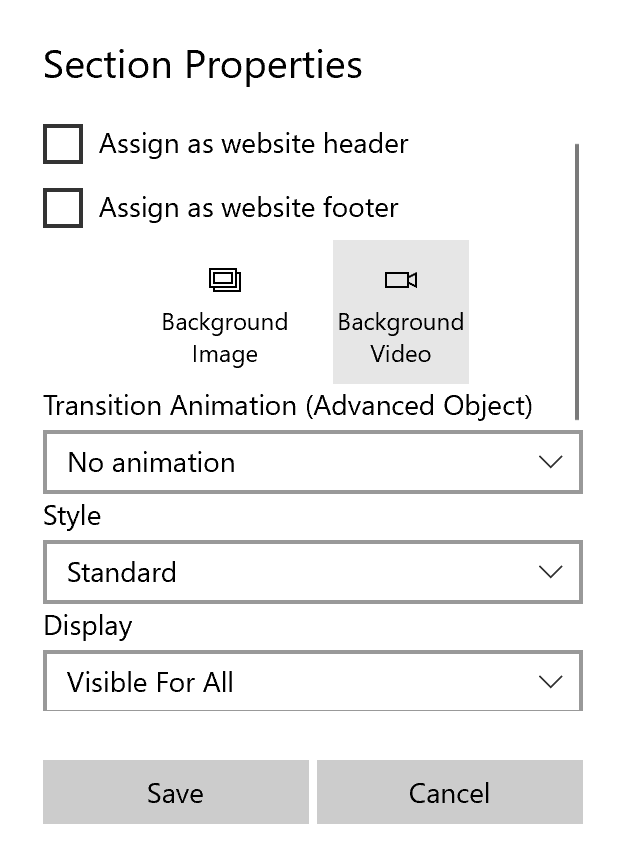
  • Video background
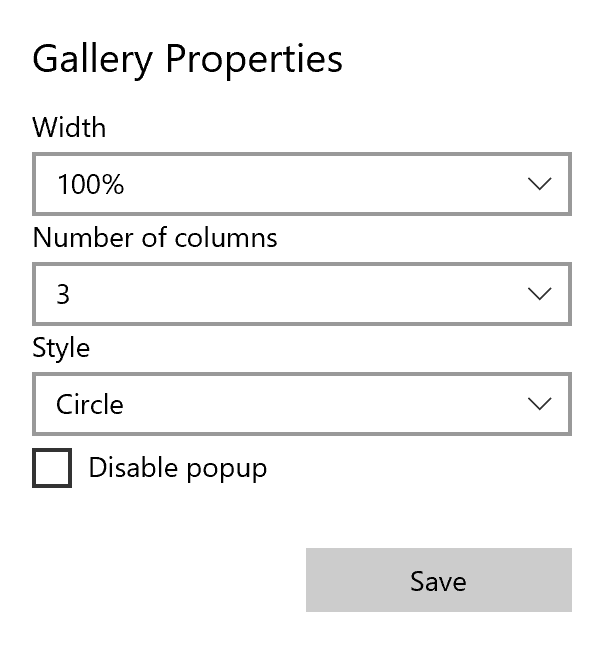
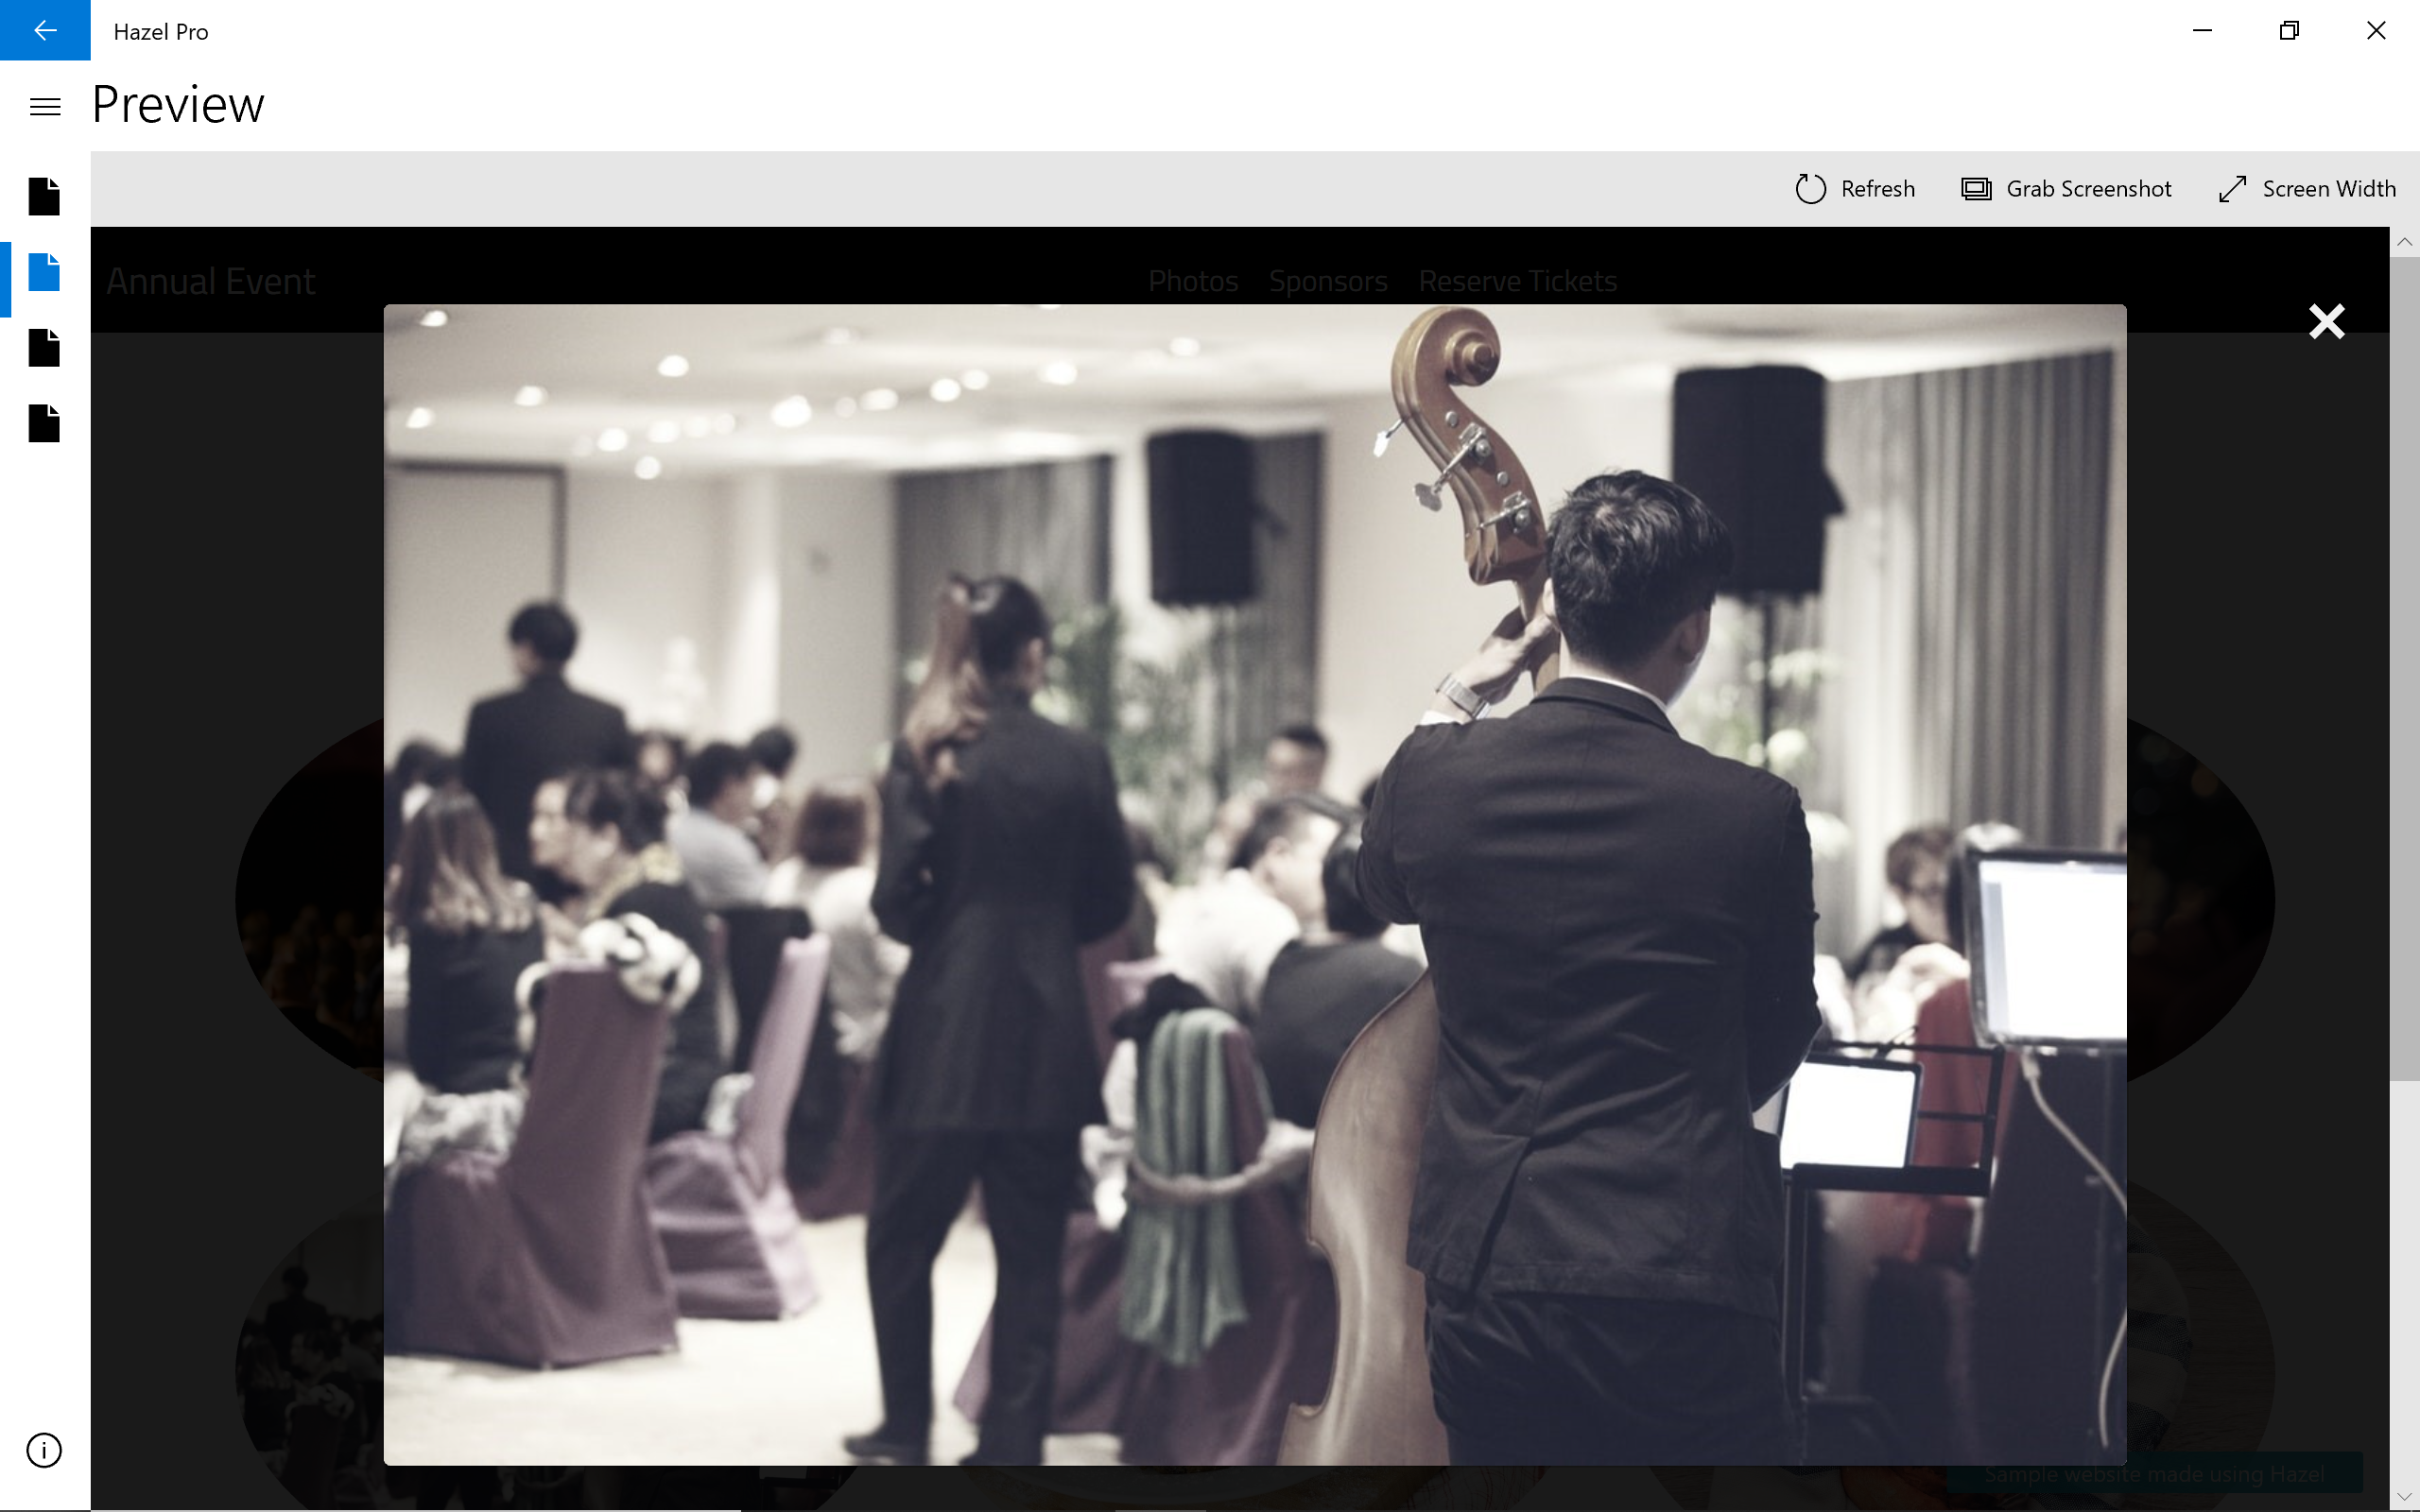
  • Circle style lightbox photo gallery
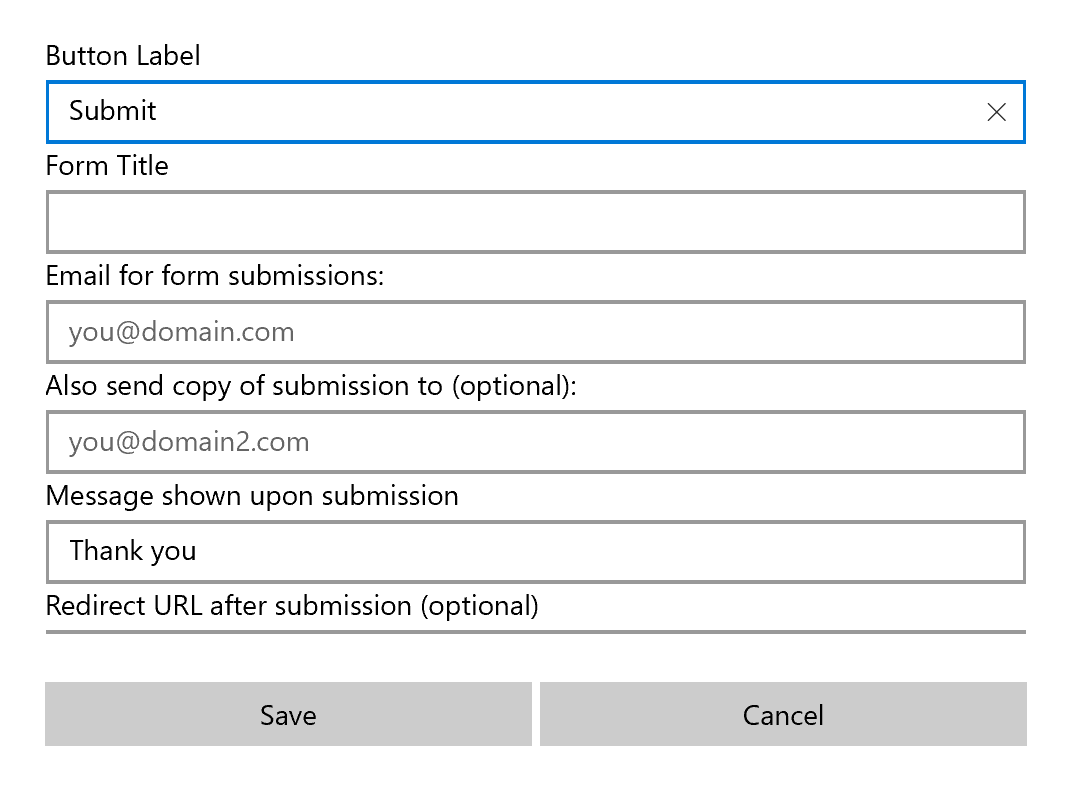
  • Online ticket reservation form
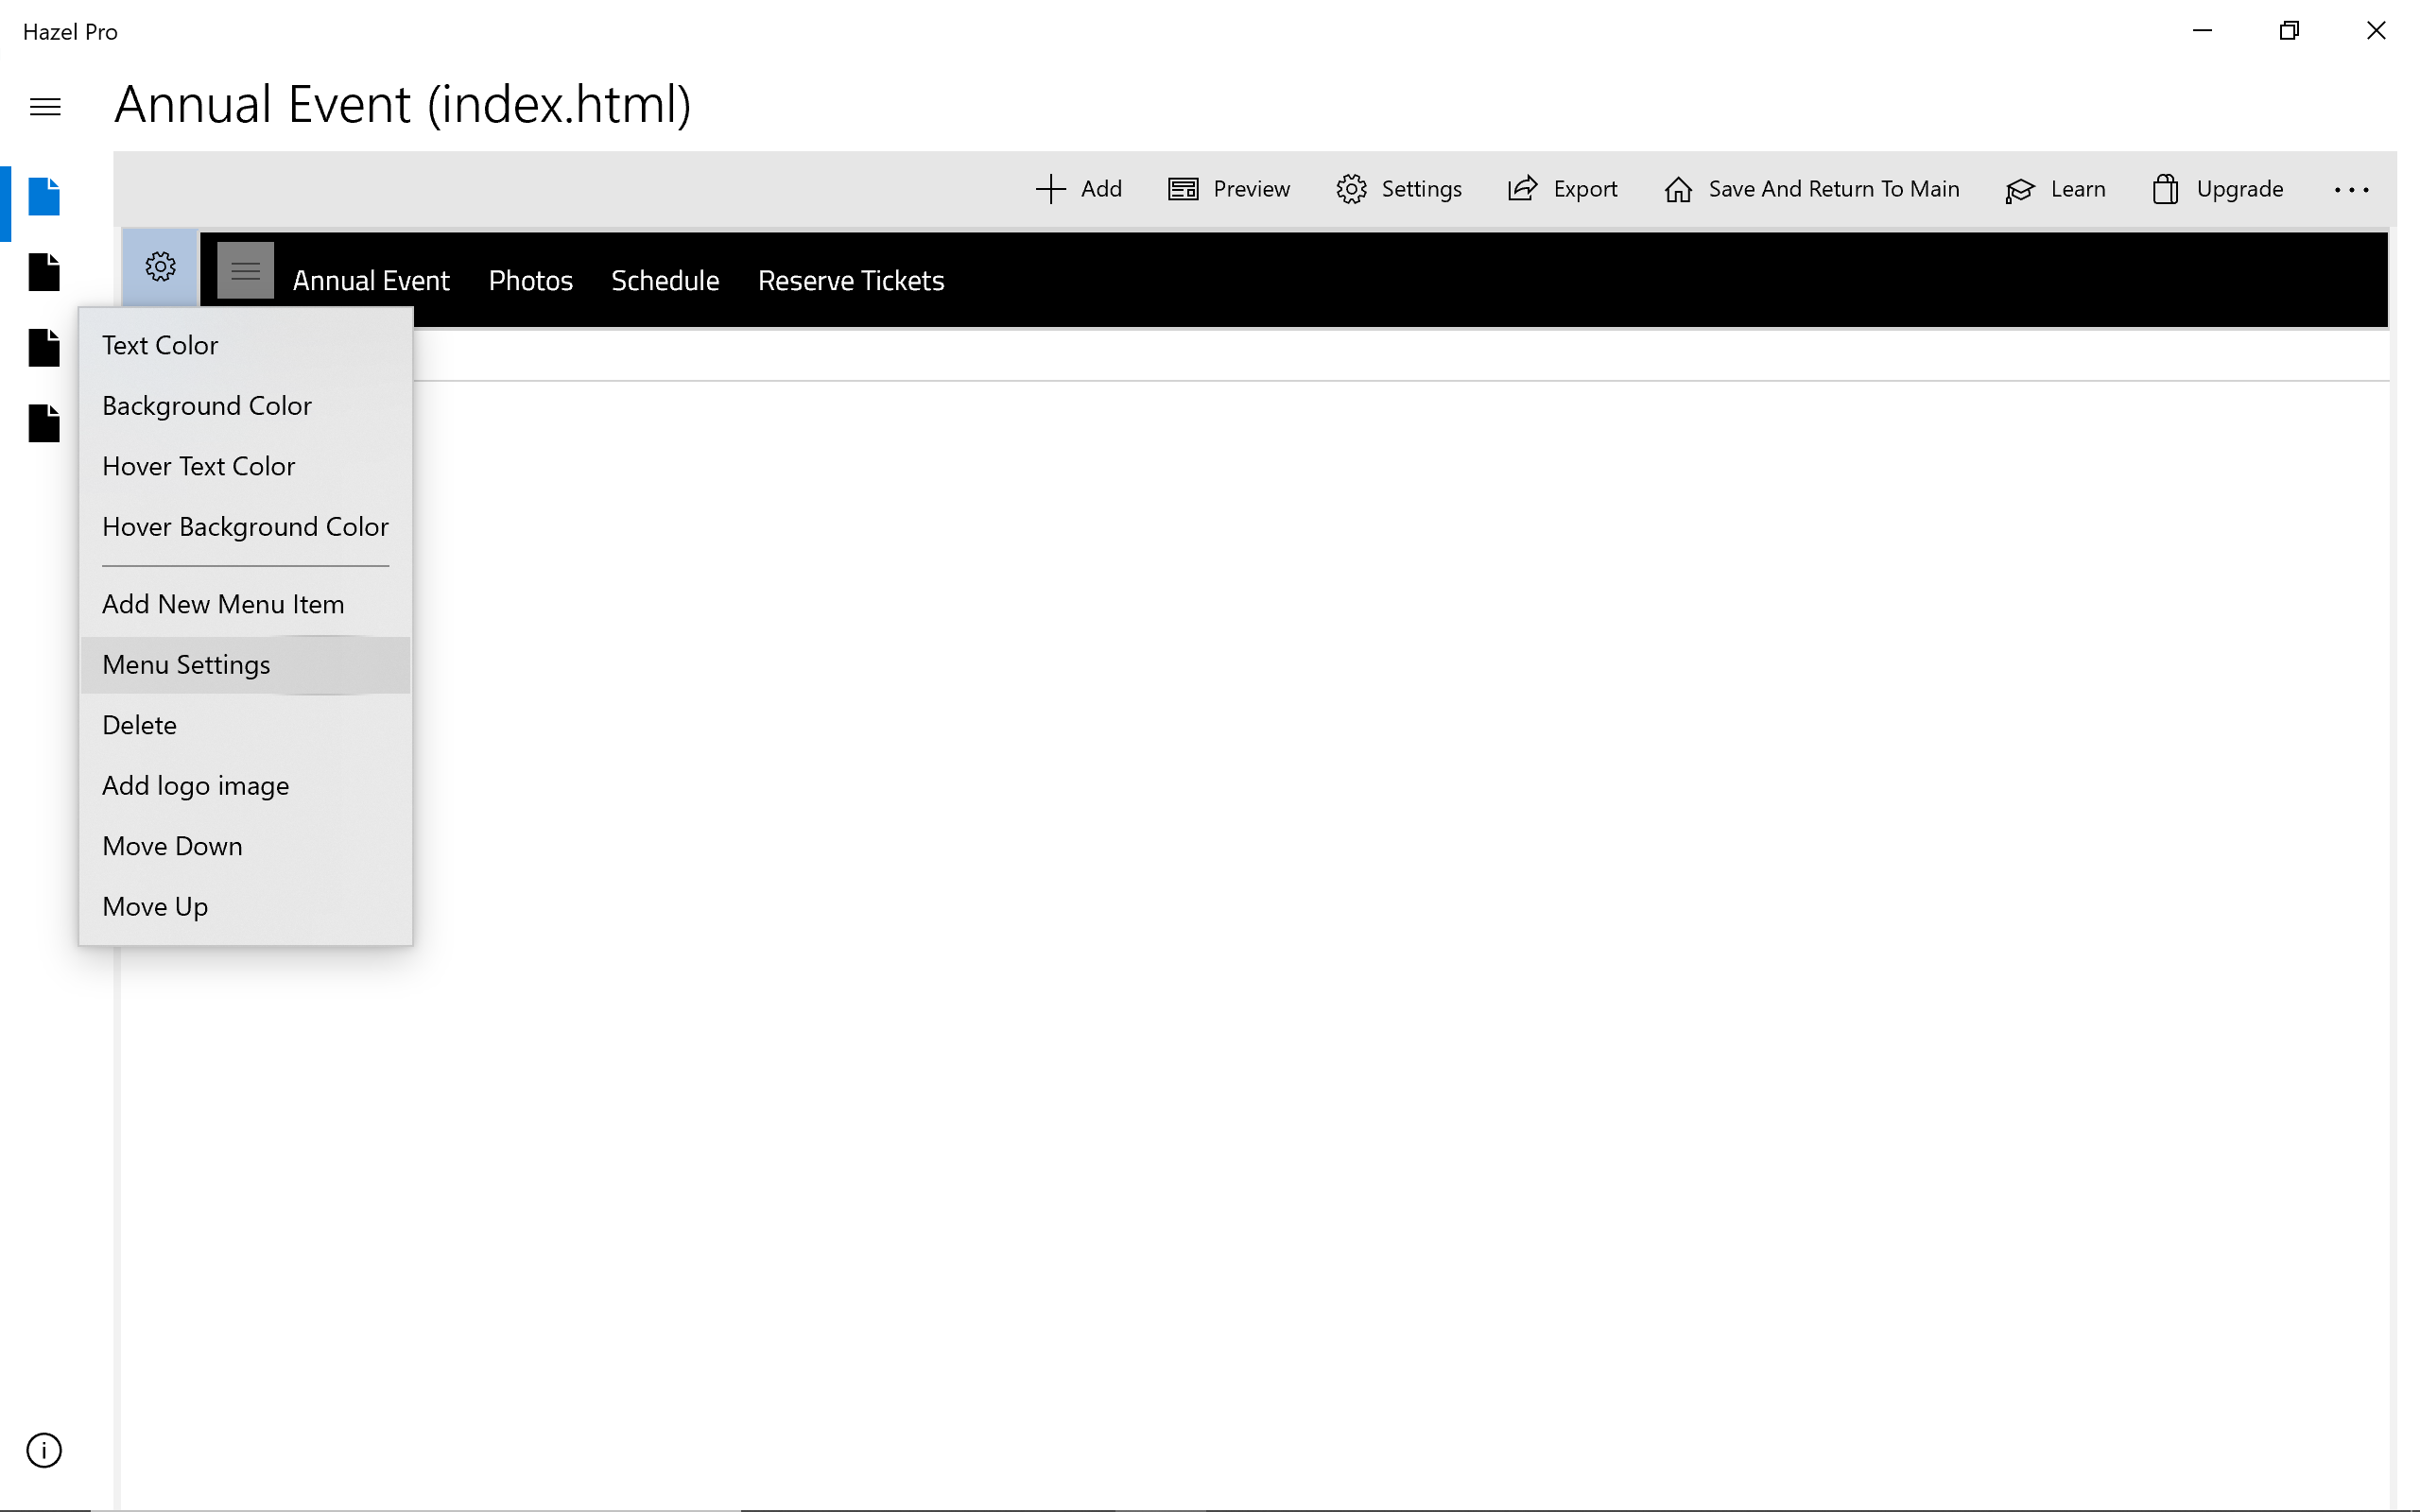
What we used to build this website:
  • Hazel Pro
  • Stock photos from pexels.com
Create a blank website:
  • Launch the Hazel app and choose the "New Blank" template
  • Name and save your new website
This website will have a total of 4 pages, let's add a blank placeholder page for each of them.

How to add a new page:
  • Command bar > Add > New Page
  • Name the new page
  • Choose "Save"
Update page file name:
  • Navigate to page
  • Command bar > Settings > Page Properties > Update Title and File Name
Expand to show all pages in the website by clicking on the navigation menu (top left menu icon)

Page listing:
  • Annual Event
  • Event Schedule
  • Photo Gallery
  • Ticket Reservation Form
Add a new section and assign it as a "website header" so it appears on all pages in this website.

  • Command bar > Add > "Add Page Section" > "Single Column Section"
  • Open Section Properties by clicking on section's Settings button ("Gear" icon)
  • Check "Assign as website header" and choose "Save"
Add navigation menu into header section.

Add navigation menu:
  • Click on the section Add icon ("+")
  • Choose "Navigation Menu"
Update labels and links so all pages are linked to the menu:
  • Right click on each navigation menu item
  • Update item label and item link
  • Delete any extra menu items we do not need
Add new section:
  • Command bar > Add > "Add Page Section" > "Single Column Section"
Add video background to section
  • Open section properties
  • Choose "Background Video"
  • Select the video file we want to display in the background
  • Choose "Save"
Tip: Add a frame from the video as section background image. Background image is displayed while background video is loading.

Recommended properties for sections with video background:
  • Open section properties
  • Set Overall Section Width to 100%
  • Set Content Width to 100%
  • Set Top Padding to 0
  • Set Bottom Padding to 0
Test section background video in Preview

Add new text box
  • Click on the section Add icon ("+")
  • Choose "Textbox"
  • Enter annual event headline
  • Format headline text
Add action button
  • Click on the section Add icon ("+")
  • Choose "Action button"
  • Update button label to "Get Your Tickets Now"
  • Update button link to Ticket Reservation page

Add new section and gallery:
  • Command bar > Add (+) > Add Page Section > Single Column Section
  • Click on the section Add icon and choose "Gallery"
  • Select photos you wish to add
Customize gallery display style:
  • Right click on gallery
  • Choose "Gallery Properties"
  • Change image style to "Circle"
Test click-to-enlarge features using Preview.
Add title:
  • Command bar > Add (+) > Add Page Section > Single Column Section, add text box to section and enter "Book A Photo Session"
Add web form objects:
  • Command bar > Add (+) > Page Section > Single Column Section, add web form objects to section
Add and customize "Submit" button
  • Click on the section Add icon ("+")
  • Choose "Form Objects">"Submit" button
  • Click on "Submit" button menu and choose "Button Settings", enter your email address under "Email for form submissions".
When someone completes this form and clicks submit, you will receive an email at this address.

Please note you have to upload this page to your website in order to test out the form submission features. (Submission features are not active in local preview)

Add banner section with background image
  • Command bar > Add > "Add Page Section" > "Single Column Section"
  • Open section properties
  • Choose "Background Image"
  • Select the image we want to display in the background
  • Choose "Save"
Add new text box for title
  • Click on the section Add icon ("+")
  • Choose "Textbox" and enter "Schedule"
Add schedule details
  • Command bar > Add > "Add Page Section" > "Single Column Section"
  • Click on the section Add icon ("+")
  • Choose "Textbox"
  • Enter schedule details and format text