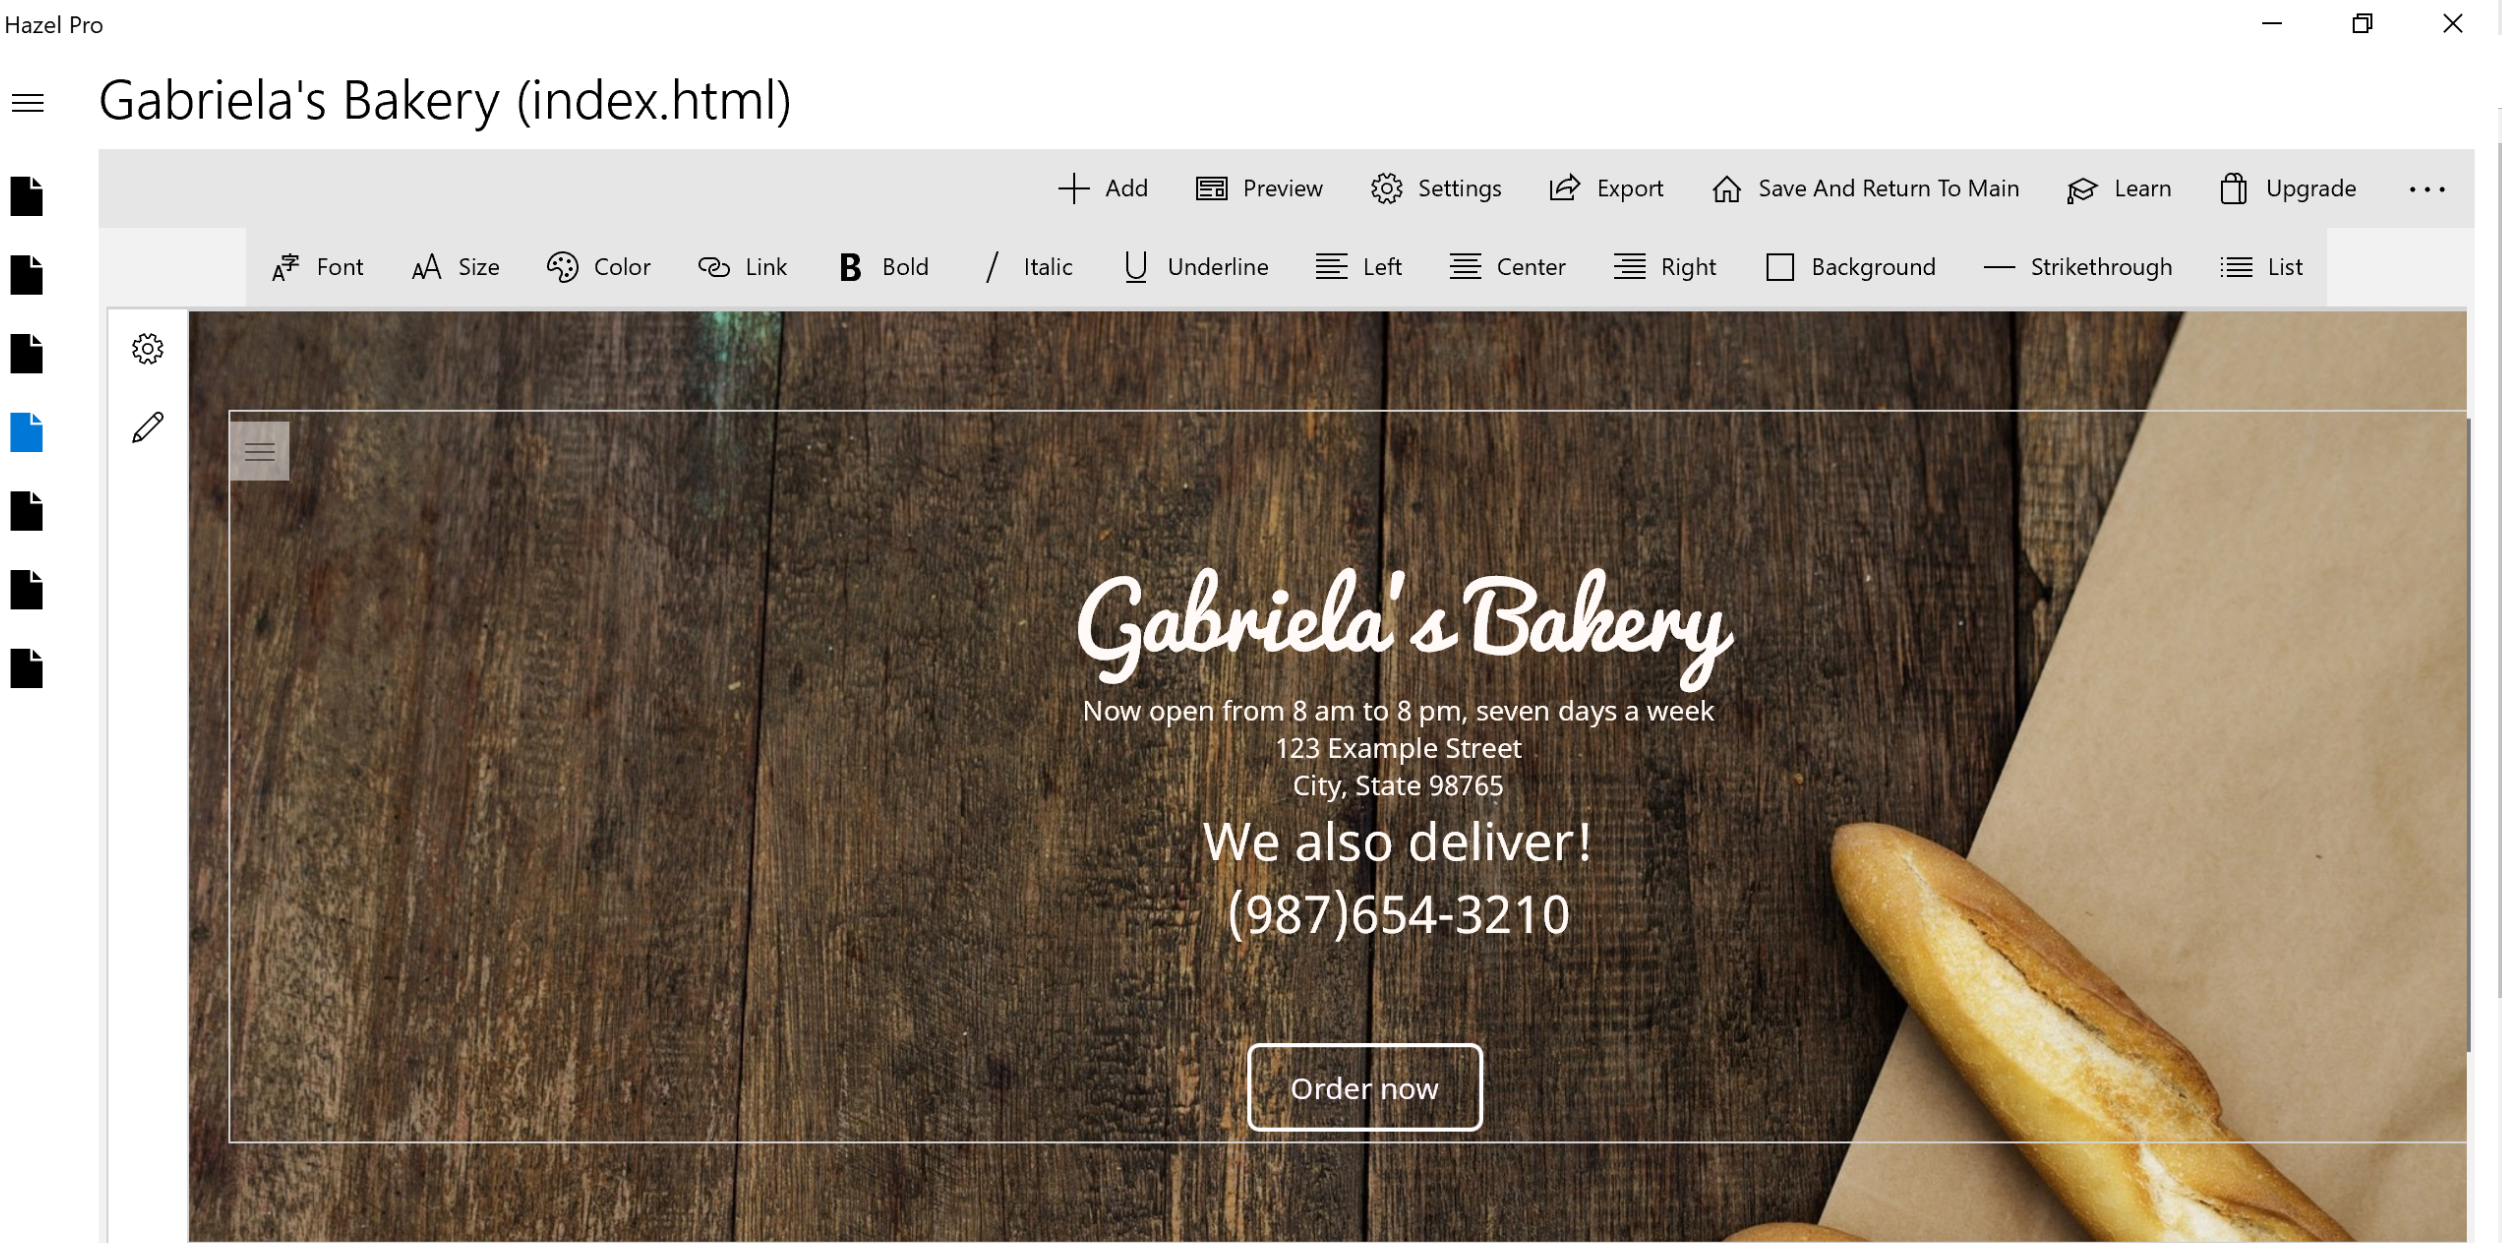
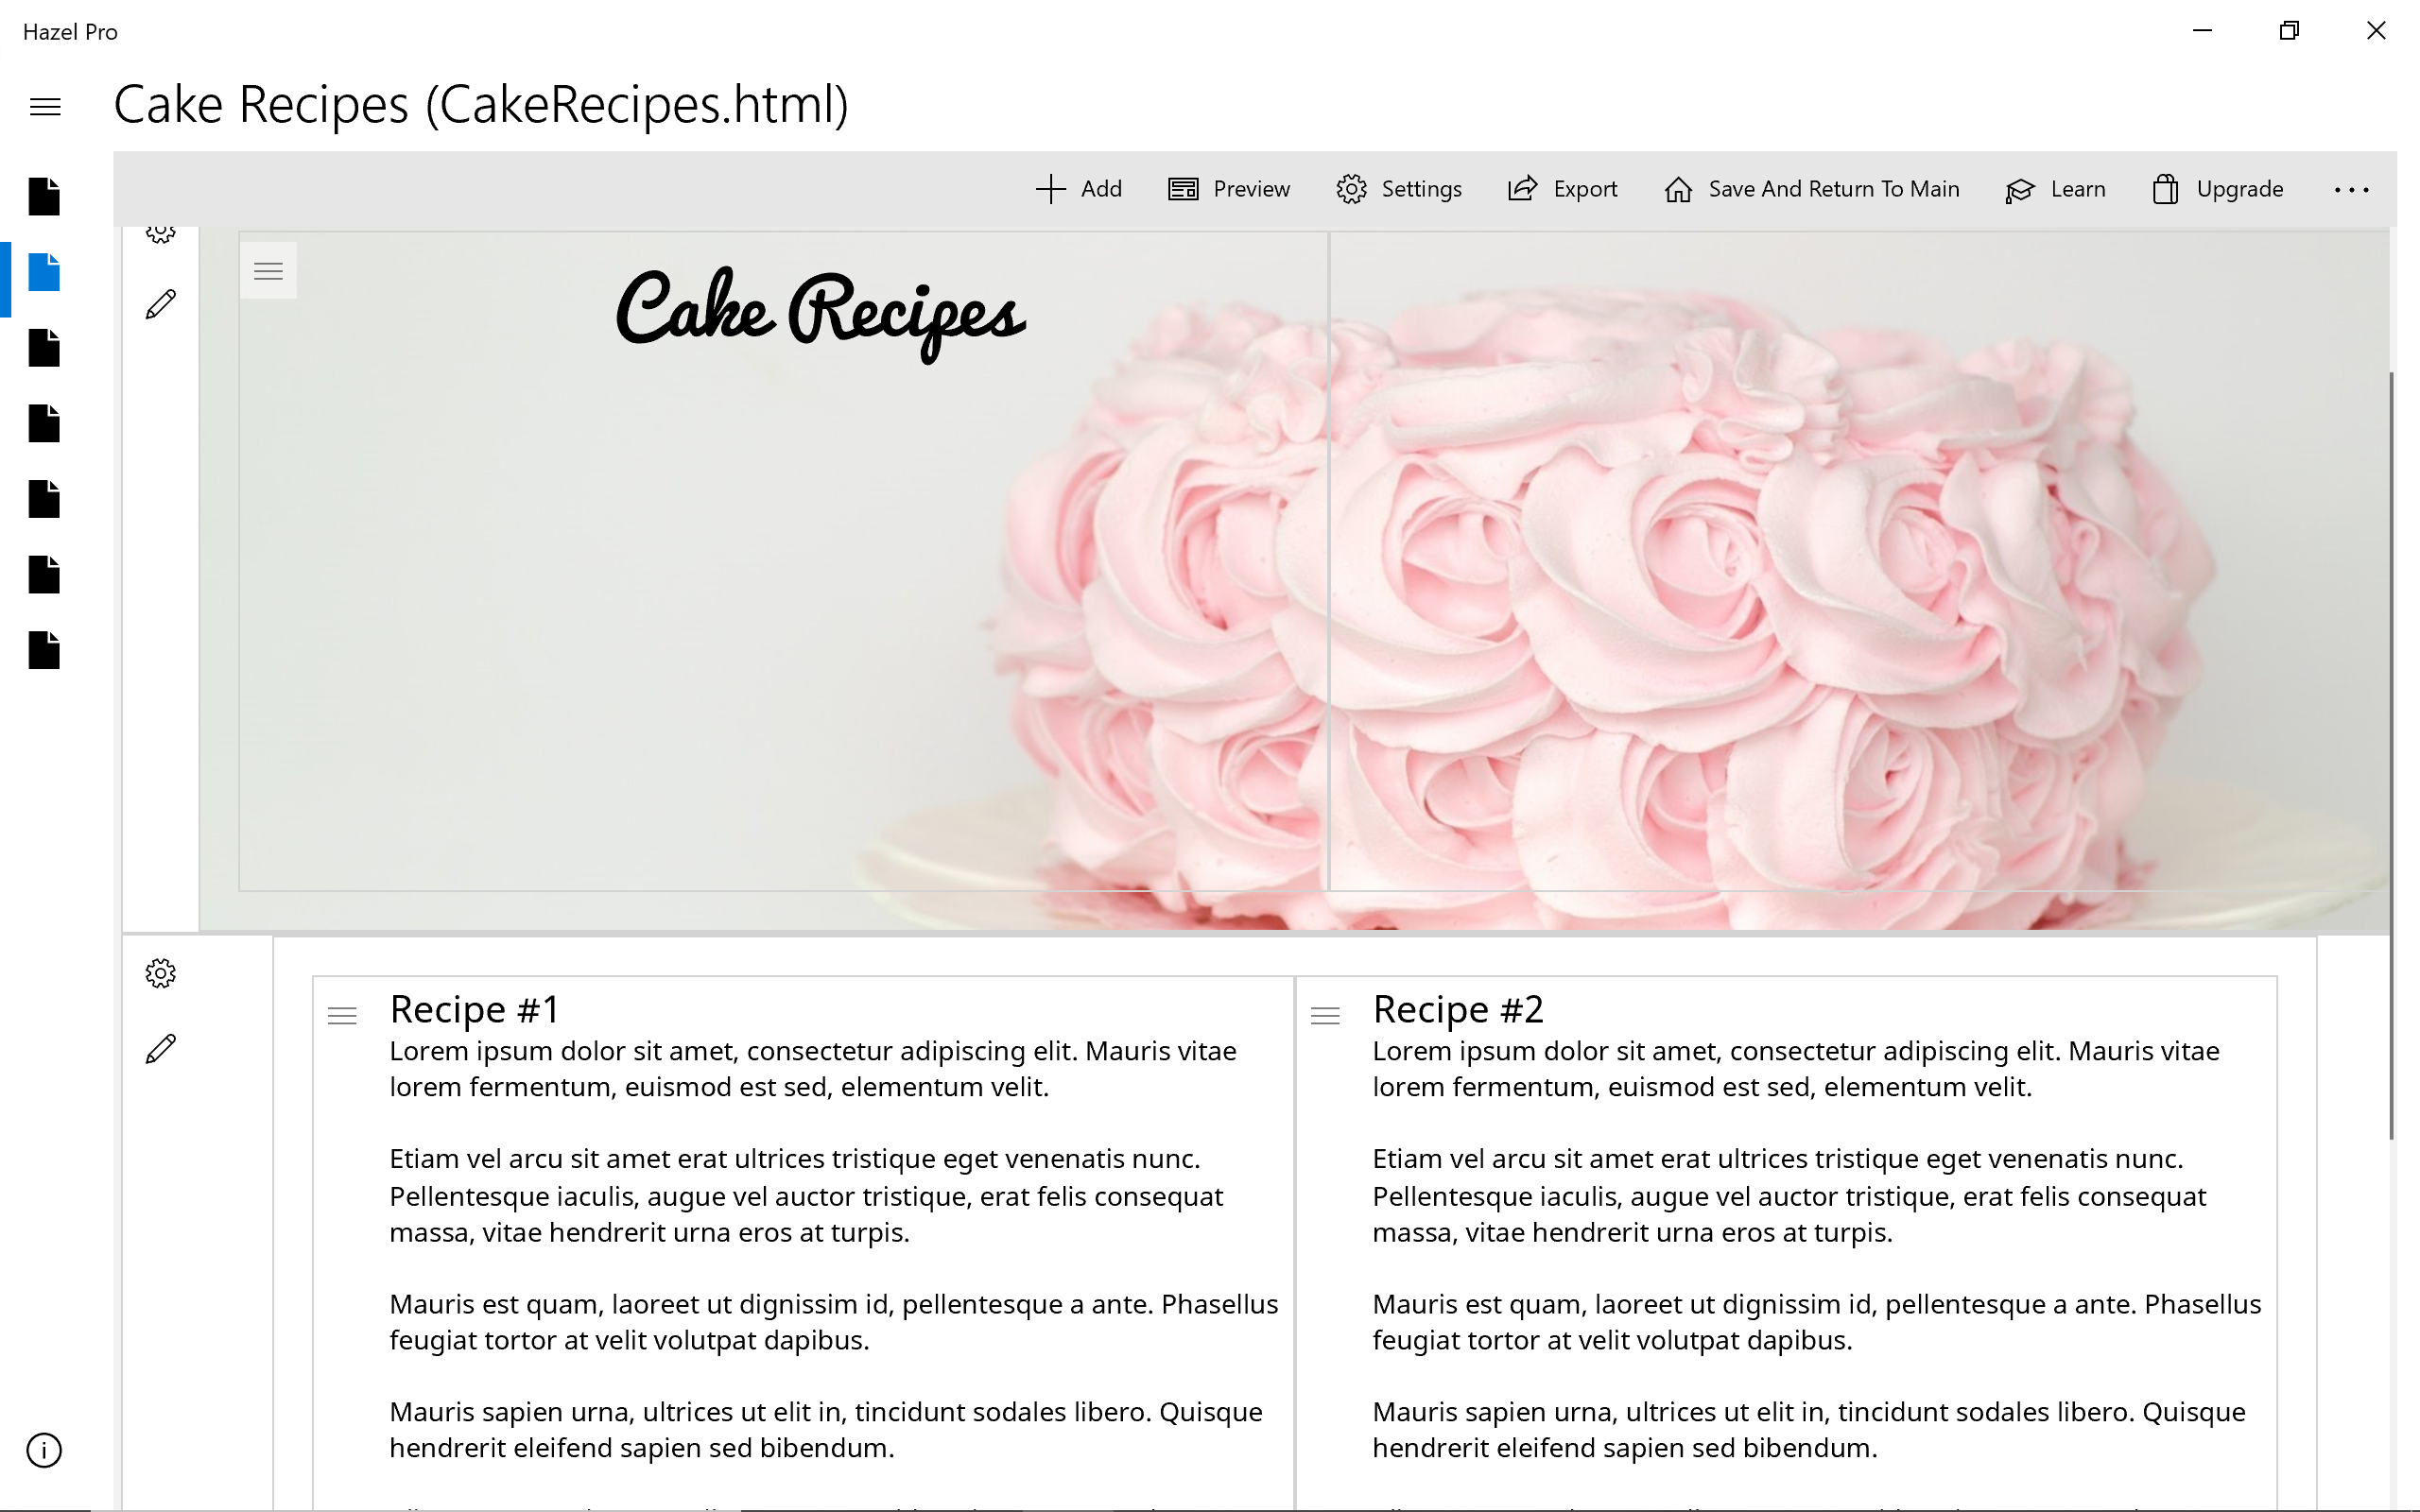
How to build a bakery website with online ordering form
Example website:
Gabriela's Bakery

This website features:
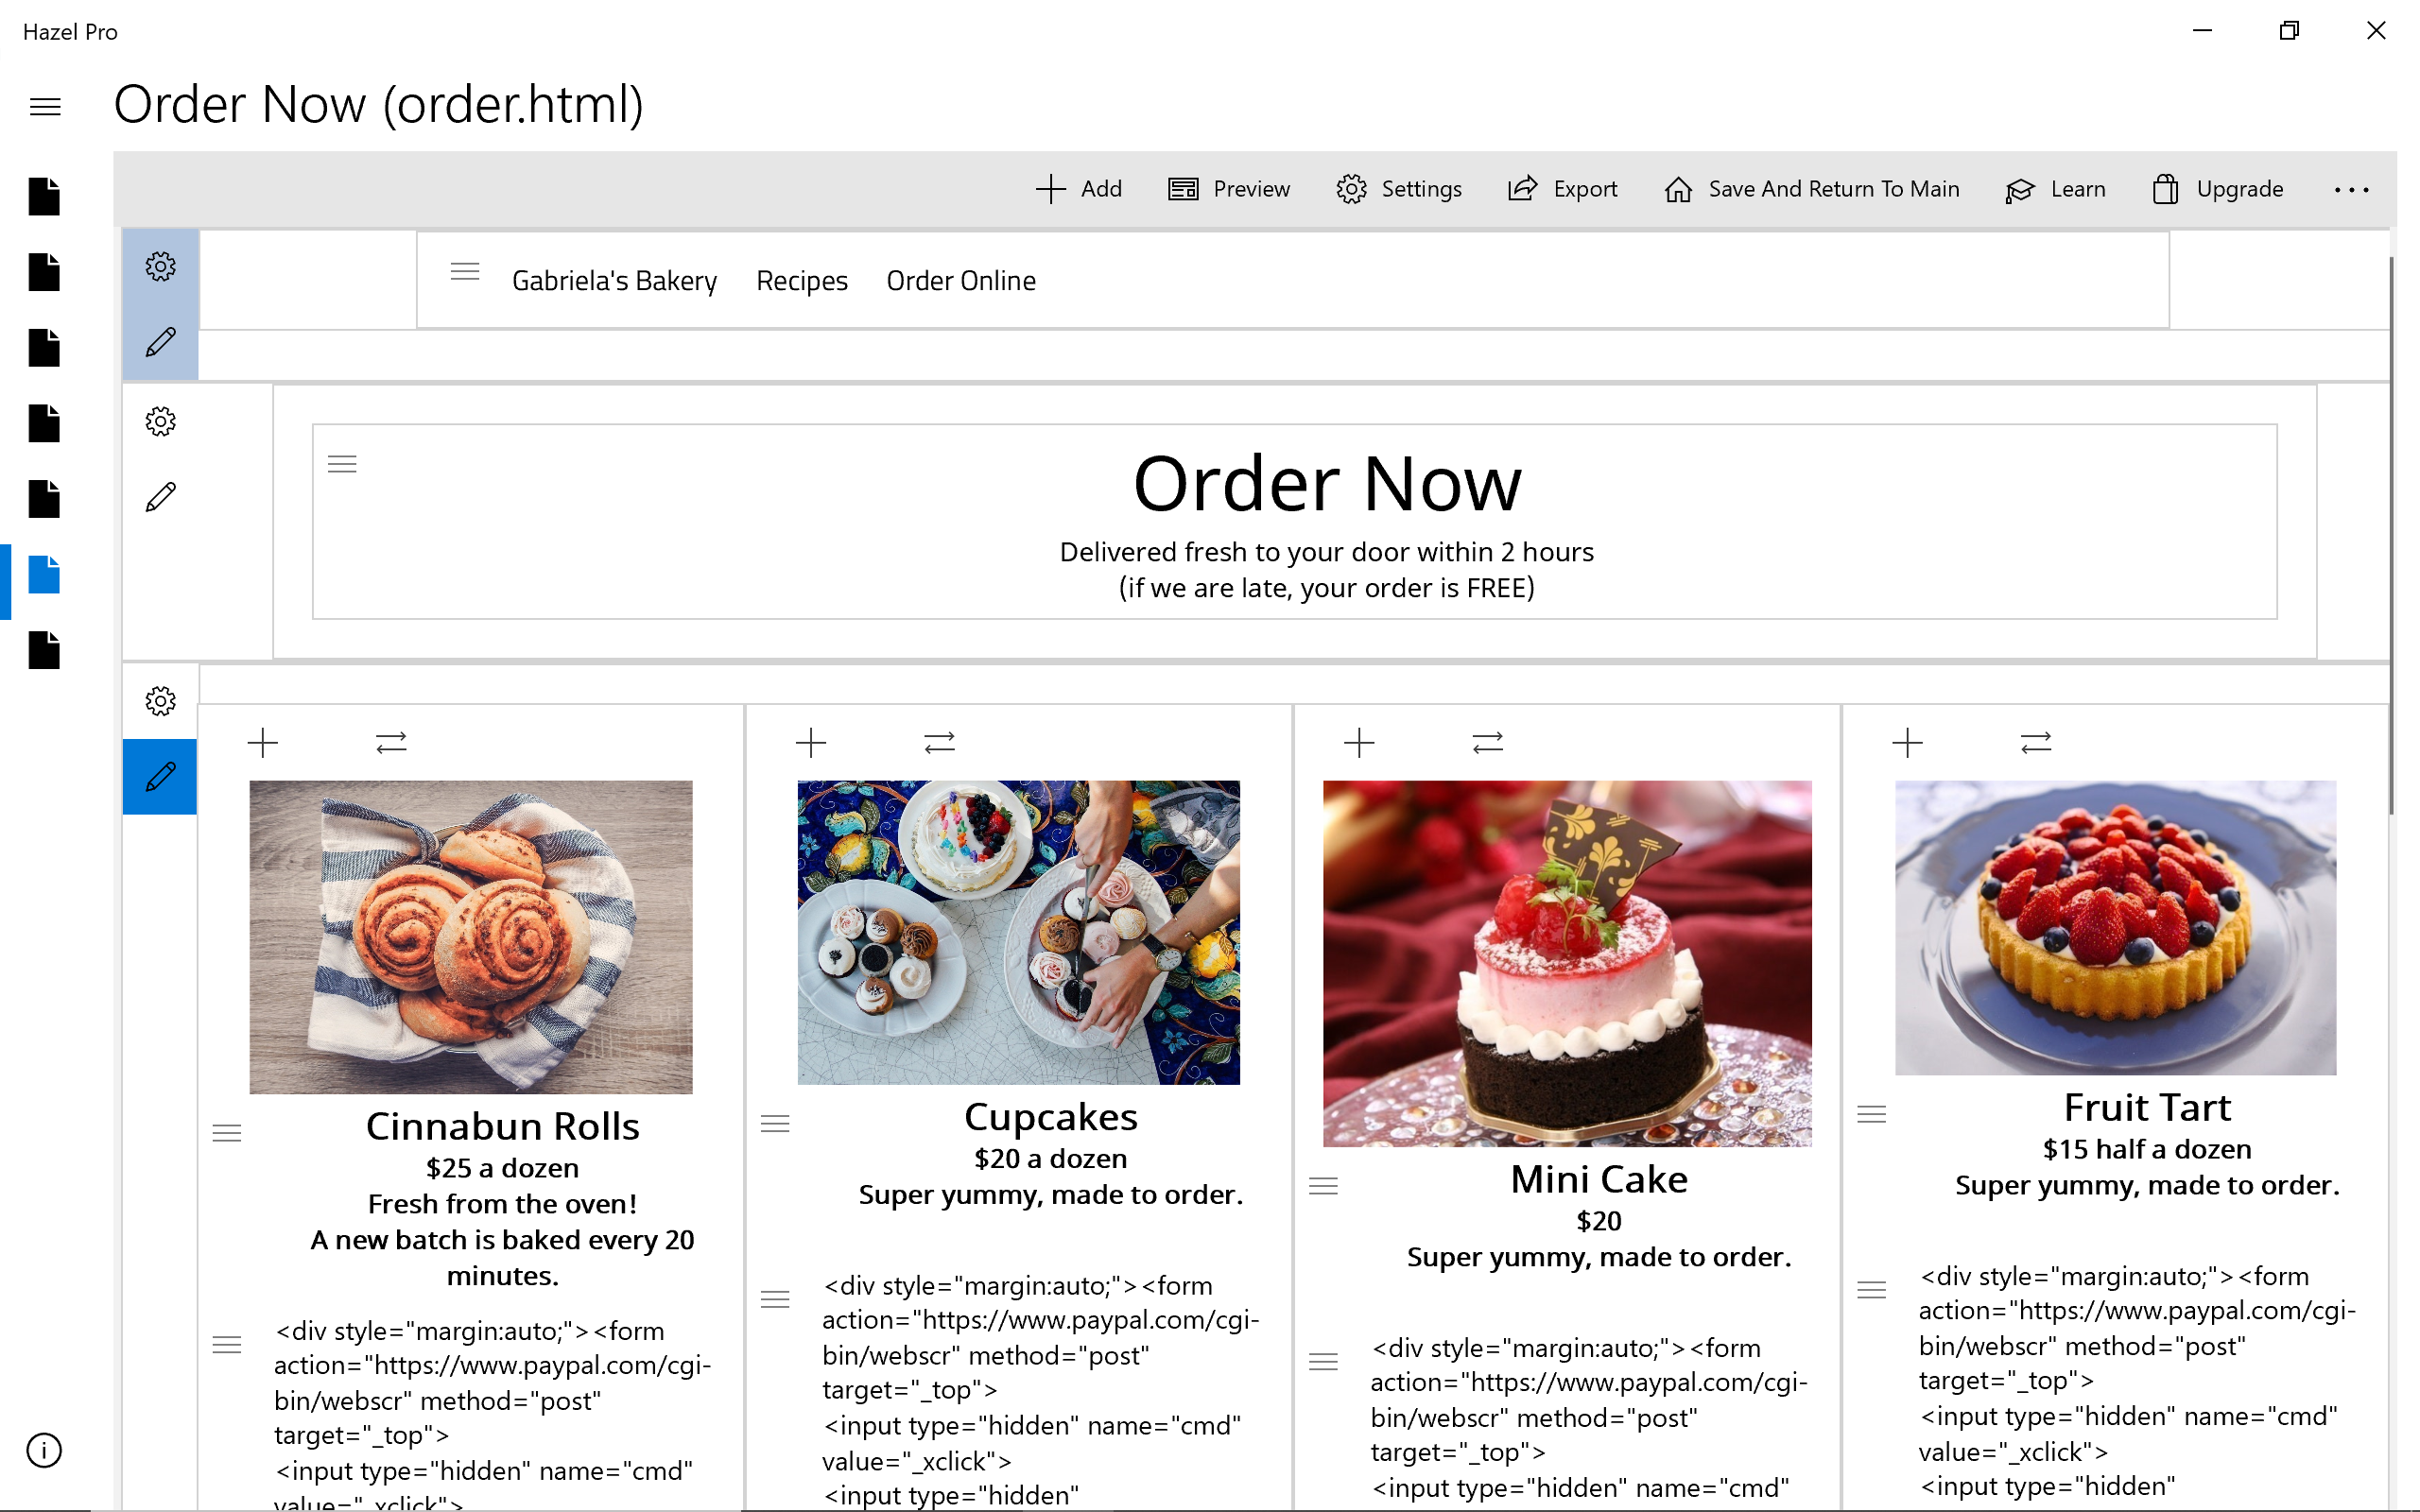
  • Multi-tier dropdown navigation menu
  • Online order page with Paypal Buy Now buttons
What we used to build this website:
  • Hazel Pro
  • Stock photos from pexels.com
Create a blank website:
  • Launch the Hazel app and choose the "New Blank" template
  • Name and save your new website
Set home page title:
  • Command bar > Settings > Page Properties
  • Update Title to "Gabriela's Bakery"
We are going to create a total of 7 pages, let's add a blank placeholder page for each of them.

How to add a new page:
  • Command bar > Add > New Page
  • Name the new page
  • Choose "Save"
Update page file name:
  • Navigate to page
  • Command bar > Settings > Page Properties > Update Title and File Name
Expand to show all pages in the website by clicking on the navigation menu (top left menu icon)

We will create a total of seven pages:
  • Home page
  • About us
  • Special Promotions
  • Croissant Recipes
  • Muffin Recipes
  • Cake Recipes
  • Order Online form
Add a new section and assign it as a "website header" so it appears on all pages in this website.

  • Command bar > Add > "Add Page Section" > "Single Column Section"
  • Open Section Properties by clicking on section's Settings button ("Gear" icon)
  • Check "Assign as website header" and choose "Save"
Add a navigation menu into header section:
  • Click on the header section Edit button ("Pencil" icon)
  • Click on the section Add icon ("+")
  • Choose "Navigation Menu"
Add sub menu items:
  • Right click on each menu item and choose "Add Sub Menu Item"
Update menu item labels and links:
  • Click on each sub menu item
  • Update menu label and link
Update labels and links so all pages are linked to the menu:
  • Right click on each navigation menu item
  • Update item label and item link
  • Delete any extra menu items we do not need
Tip: when working with dropdown menus, always assign links to the "submenu items", do not assign links to the "top level" items. Clicking on a top menu item is an action that will open the submenu.

Add section with background image:
  • Command bar > Add > "Add Page Section" > "Single Column Section"
  • Open Section Properties by clicking on section's Settings button ("Gear" icon)
  • Click on "Background Image" and choose the image file you wish to apply as the section background
  • Choose Save button
Add text box to section:
  • Click on the section Add icon ("+")
  • Choose "Textbox"
  • Click inside text box to enter content
  • For this example, we are going to type in "Gabriela's Bakery", the bakery address and contact information
Add action button to section:
  • Click on the section Add icon ("+")
  • Choose "Action Button"
Customize button:
  • Right click on button and choose "Button Settings"
  • Scroll down to the "Label" field and update the button text. For this example, let's customize the label to "Order Now" and link the button to the online order page
Add three column section:
  • Command bar > Add > "Add Page Section" > "3 Column Section"
  • Open Section Properties by clicking on section's Settings button ("Gear" icon)
  • Add a photo and text box to each column
This three column section will automatically stack to form a single column on a mobile device.
Add two new sections
Command bar > Add (+)
Add Page Section > Single Column Section

Add a background image to the first section
  • Open section properties
  • Choose "Background Image"
  • Let's optimize the background image file size using "Background Image Compression"
Add text box to first section
  • Click on the section Add icon ("+")
  • Choose "Textbox"
  • We will use this text box to add background information about the bakery
Add text box to second section
  • Click on the section Add icon ("+")
  • Choose "Textbox"
  • Let's add testimonials and reviews from our customers into this text box. We are going to use a different font style for each review.
Update text font style and font color
  • Select text
  • Format bar > Font > Update font style
  • Format bar > Size > Update font size
  • Format bar > Update text color
Page for Croissant Recipes
  • Command bar > Add (+) > Add Page Section > Single Section, add text box to section and complete with summary croissant recipe information
  • Command bar > Add (+) > Page Section > 3 Column Section, add a text box to each column. Format each text box with a different background color. Complete text box with detailed recipe instructions.
Page for Muffin Recipes
  • Command bar > Add (+) > Add Page Section > Single Section, add text box to section and enter "Muffins Recipes"
  • Command bar > Add (+) > Page Section > 3 Column Section, add a text box to each column. Complete text box with detailed recipe instructions.

Page for Cake Recipes
  • Command bar > Add (+) > Add Page Section > Single Section, add text box to section and enter "Cake Recipes"
  • Command bar > Add (+) > Page Section > 2 Column Section, add a text box to each column. Complete text box with detailed recipe instructions.

Add sections
Command bar > "Add">"Add Page Section">"Single Column Section"
Command bar > "Add">"Add Page Section">"4 Column Section"

Add text boxes
  • Click on each section column's Add icon ("+")
  • Add "Textbox"
  • Complete text box with information on product promotions

Add sections
  • Command bar > "Add">"Add Page Section">"Single Column Section", add text box to section and enter "Order Now" with order information
  • Command bar > "Add">"Add Page Section">"4 Column Section"
Add product details to each column
  • Add product photo and text box for product name and description
  • Add HTML snippet for Paypal buy now button code
  • Generate Paypal button code from https://www.paypal.com/buttons
  • You can use Preview to test what the button looks like. To test payment collection, you’ll need to publish this page online to your website. (Payment buttons do not work locally in Preview)
  • Right click image and choose "Image Properties"
  • Set Style to "Rounded"
  • Check checkbox for "Click To Enlarge"
  • Load page "Preview" mode to test for click-to-enlarge features